Hello! As part of the first series of Cloud Projects, I want to introduce how this site came to be. This project aims to provide you, as the name implies, an alternative method that will allow you to host your own website, and maybe you can create one that is better than mine. I don’t consider myself a professional website developer, but I’ll provide the necessary steps and knowledge to kick-start your blog.
Like every project from here on out, I will provide you with the difficulty, services, and associated costs before we start the project. I aim to make most projects zero-cost or cheap, but unfortunately, this will cost a few bucks! Nonetheless, let’s get started!
Difficulty: ♦
Cost: $13-$30
Services:
- Amazon Webservices (AWS)
- LightSail
- Route 53
- WordPress
Disclaimer: This project assumes that you already created your own AWS account and have basic AWS knowledge. If you do not already have one, click here to watch a short video on how to get started (I did not make this video. all credit goes to its owner)
LightSail
What is LightSail? You can find the definition according to AWS HERE. If you find it hard to understand, LightSail is a service that automatically provides the resources needed to start an application. We are doing it this way because it’s easy, and it would take me a long time to explain the steps and functions for various services like IAM, EC2, Auto-Scaling, VPC, Gateways, etc. So thanks to Lightsail, half the battle is done for us.
Now! From the AWS console screen, search up LightSail, and you should get a page similar to mine:

As you can see, I already created an instance, but not to worry, if your page doesn’t look like mine (which it won’t), you should be able to locate the “Create Instance” button. Click it and follow the coming steps:


Let’s start by selecting Linux as our platform and WordPress. Further down the page, we have to choose the instance plan. You may want to opt for the $5 plan, as this comes with significantly stronger instances for just $1.5 more, but that doesn’t matter as the continuation of this project will be integrating CloudFront and Auto-scaling, which will help in case you have chosen the $3.5 plan. Anyways, Make sure you name your instance and only provision one instance. As far as the SSH Key pair goes, you want to leave that as is for now, and later you may want to change it (for security reasons). Finally, click “Create Instance”.
Side Note: It is important that you choose an availability zone that is closest to you. For the reason that is the location where your computing resources will be stored, so if you choose an availability zone that is far from you, there might be some latency for not just you, but your viewers. For the most part, AWS will automatically do this for you, however, you may want to verify the accuracy.
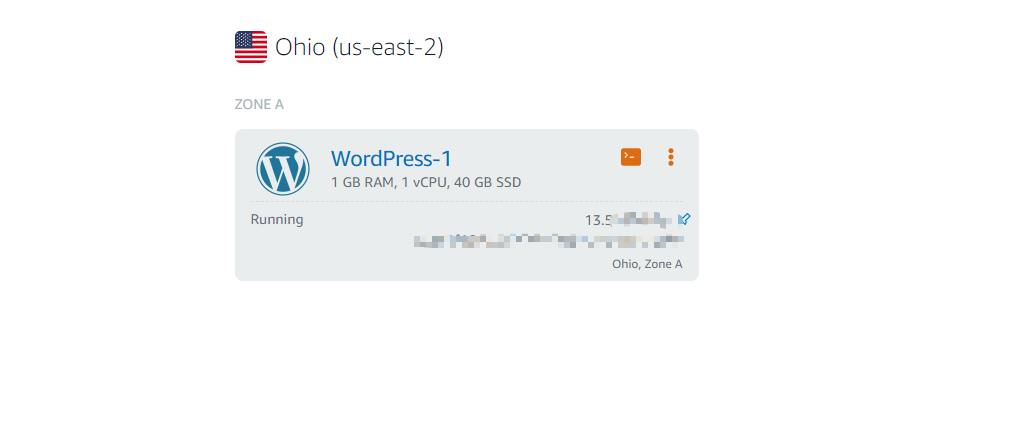
Congrats! You created your first instance! Like the picture below, your instance should be pending for a few minutes; after a while, it should look like the instance in Ohio (us-east-2) region.

Now that we have the instance, we are going to add a static IP by clicking on the instance and following these steps:


We got a permanent IP address! Make sure you keep it, as we will use it later! We are doing this because IP addresses in AWS are ElasticIPs, meaning that you are assigned the IP address until you release it or you turn off your instance. In a bit, were are going to register our domain and create a DNS record that will resolve the domain name to the IP address of the instance. You can see how this will be a problem if our instance were to fail!
Before we register our domain, let’s go ahead and enter the WordPress editor through our instance. Where we will:
- Login via SSH to get the password to our instance (this can be switched later on)
- Access the WordPress Login portal

The following slide may look intimidating, but you will only use the following command to get where you need to be:
ls
cat bitnami_application_password
*This should provide you with a password that you will use to login to WordPress portal*

As mentioned, we will use this password to login the WordPress website using the following link:
http//:[Your_Instance_IP]/wp-admin

Once you reach the site use:
Username: User
Pasword: [Password_From_SSH_Terminal]
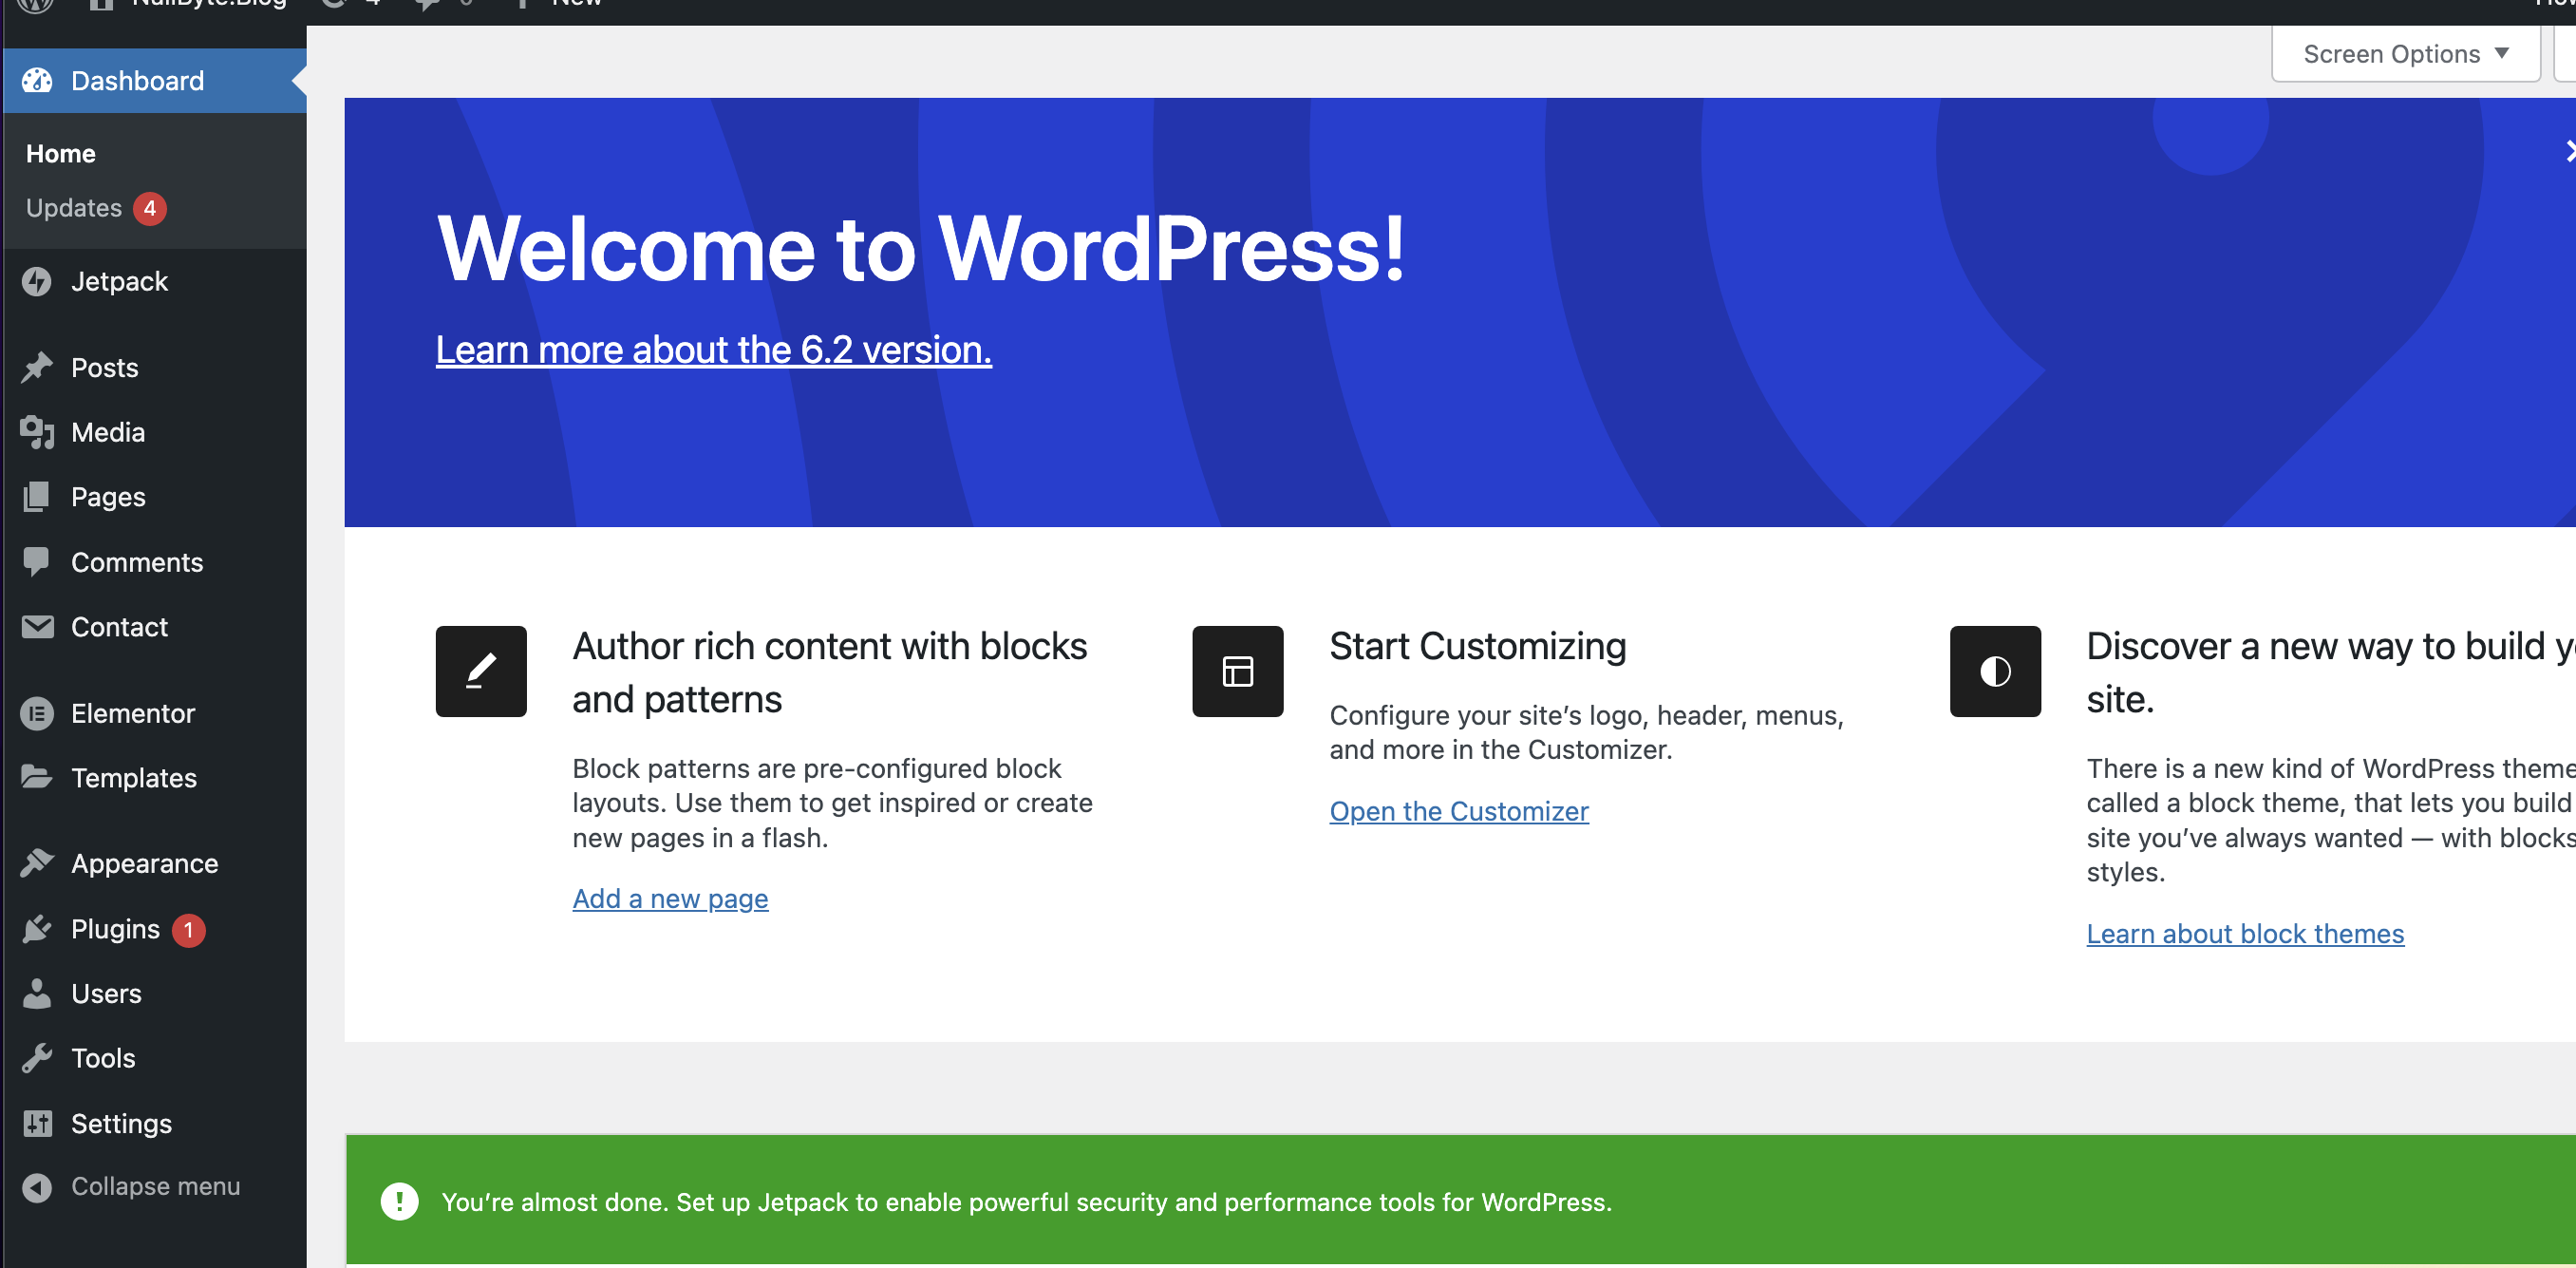
Congrats, you should see a screen similar to mine. If you want to learn how to use and navigate WordPress go to this project: Simple Editing with WordPress
However…I recommend following through with this project before moving to the latter.
Route 53
Alright, so far we:
- Built an AMI Instance
- Created a static IP
- Obtained password from SSH terminal
- Logged in to Worpress through instance
We made her; now we need to name her! This is where we will use Route 53
In case you don’t know, Route 53 is a DNS service that allows you to route domains to their IPs and allows you to register your own domain. There is a lot more to this service we won’t discuss, but if you are interested, CLICK HERE to find everything this service has to offer.
Let’s get to naming! In the AWS console search bar, type “Route 53” and use the following steps to accomplish this:


Fill out the following form and observe the registered domain to look similar to the second snippet.
Let’s go back to Lightsail and assign the domain to our instance. Click on the instance, go to the domain tab, and follow the steps:


In a nutshell, we assigned the domain to the instance and configured it such that any subdomain associated with it will resolve to the static IP from the instance.
The last step! Even though we assigned the domain to the instance, we still need to map it out.
We will do this using DNS Zone to map out the name server (NS) to our domain and instance IP. It seems counterintuitive since we already did it in the previous step, but in reality, all we did was associate the domain with the IP. However, this will allow anyone searching for your website to find the right DNS server that contains the IP address of your domain.
If you are looking for a technical explanation, you can find it HERE
At the home page, click “Domain & DNS” and use the following steps:


Finished! Give it a few minutes, and search up your blog by the domain name you assigned it!
This portion of the project is done, but it is far from over. It’s time to scale the project and incorporate factors like Design, Security, Logging, etc. Below are the links for the associated projects.

Thank you for going through with this project; if you have any questions, reach out directly on my Linkedin. Oscar Cardenas SCS, SAA, CCP, S+, N+
- Simple Navigation & Editing with WordPress
- Security
- HTTP to HTTPS Redirection
- Cloudfront & Auto-scaling
- Logging
- AWS Log Analysis with Splunk